Docker Images Basics
This article is a quick tutorial on Docker image management in Docker-ce on Ubuntu 20.
- Introduction
- Prerequisites
- Docker Images
- Deploying a Web Server
- Testing our Web Server
- Closing Thoughts
- Links
Introduction
After getting Docker installed, I found the best way to learn is to start running containers from prebuilt images. For this post, I am using Docker-ce, running on Ubuntu 20.
We will start with a prebuilt httpd image and get familiar with stopping, creating, and removing
containers.
From there, we will clone an existing web repository and configure our httpd container to serve up
the content.
Links to the Docker commands, image, and repository are available below:
Prerequisites
We will be cloning a repository from github, so make sure to download and install git. If you are using Ubuntu, you can use the following command.
|
|
You can confirm git is installed by running the following command:
|
|
Docker Images
To host our web content, I will be using the official httpd image available on the Docker hub.
This docker image runs Apache HTTP Server and contains only httpd with default settings.
Using the docker pull command, we will pull the httpd:latest image:
|
|
By doing this step, we are caching a local copy of the httpd image, using the latest as a filter
that only pulls the most recent version.
Now we can create our httpd container using the httpd:latest image.
|
|
The docker run command starts our container by first creating a writeable layer on the
httpd:latest image. By specifying the -p 8080:80 flag, we associate the Docker host port 8080
to port 80 on the container.
Finally, by setting the -d' flag, we run the container in the background instead of the console
session.
Now that we have completed our docker run command, we can check our container status with
the docker ps command.
|
|
Since this container has not been configured to host our web content, we will stop and remove the container.
You can use the docker stop and the docker rm` command to stop the running container and remove it
from the Docker host.
|
|
We can confirm that the container has been stopped with the docker ps command. We can add the
- a flag to confirm that the stopped container has also been removed.
|
|
Deploying a Web Server
Now that we have the basics of operating containers, we can begin deploying our website to a new
httpd container. The first step will be to use the git clone command to clone our repository
into a folder.
For the purposes of my lab, I will be cloning into the /opt directory.
|
|
Now that the web content has been cloned to the server, we can set up our docker container again.
The command is similar to what we have done prior; however, we’ve added the -v flag.
Using the -v flag tells Docker to connect a mount point or volume to the container at a specific
location. In our case, we will be mounting the cloned repository to the /usr/local/apache2/htdocs
directory in the container.
This command will make the contents of our repository available in the ../htdocs directory.
|
|
Testing our Web Server
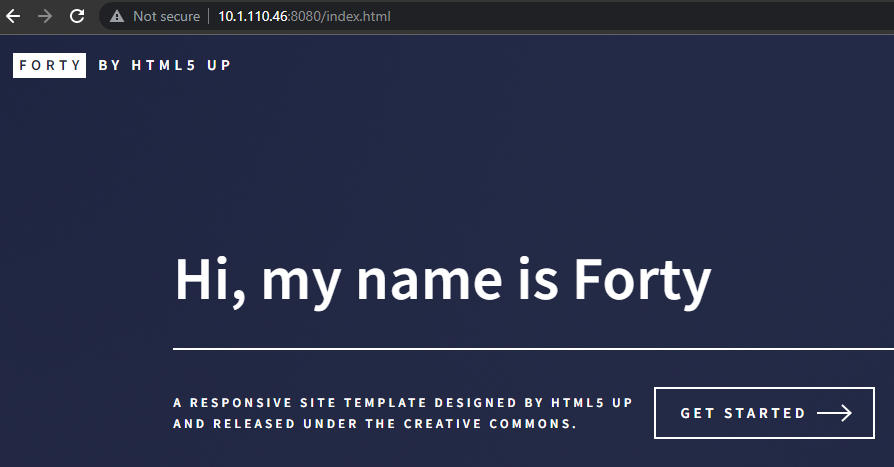
Once we have completed our new docker run command, we can test our website in a browser with
the URL of http://docker-host-ip:8080
The website should look similar to the image provided below:

Closing Thoughts
This has been a quick run-through of the basics of managing Docker containers. To summarize, we went through adding, removing, and destroying containers and manually pulling down container images.
I hope this post was helpful!
Docker is quite a powerful tool, and I highly recommend taking the time to work with it.